EN
EN
 Deutsch
 Italiano
 Español
 Français
 日本語
日本語
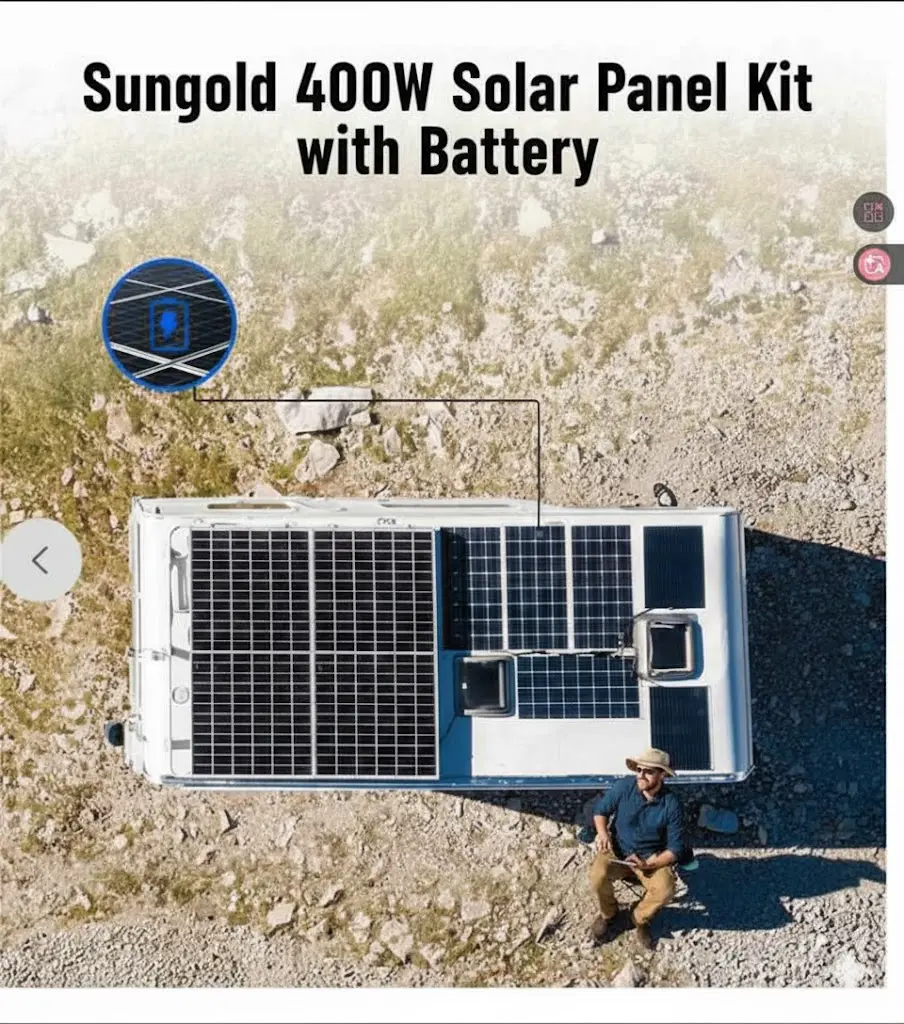
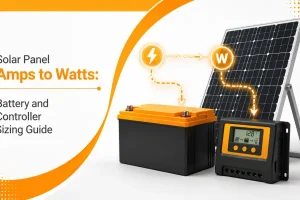
400W Solar Panel Kit with Battery: For professional Sprinter conversions, a high-performance 400W solar panel kit with battery (ideally 400Ah-800Ah LiFePO4) is the minimum threshold for reliable remote work. As you build your off-grid power system, avoiding the common pitfalls of entry-level kits—such as undersized wiring and inefficient controllers—is critical. Pros use a van life solar calculator to factor in modern demands like Starlink-ready power reserves, prioritizing high-voltage MPPT regulation to ensure every ray of sun is captured for your mobile office.
Featured Snippet: What is a professional 400W solar kit?
Question: What should be included in a professional 400W solar panel kit with battery for an RV? Answer: A professional-grade 400 watt solar panel kit with battery must include high-efficiency panels (TOPCon or BC tech), a 40A MPPT charge controller, and at least 400Ah of Lithium (LiFePO4) storage. Crucially, it requires industrial-grade safety components: a PV circuit breaker, ANL fuses, and 4AWG main battery cables to support high-draw appliances like Starlink and laptops.
Why the 400W Solar Kit is the Gold Standard for Starlink Users
The “weekend camper” logic no longer applies to the modern digital nomad. If you are running a mobile office inside a Sprinter, your power needs are constant and non-negotiable.
The Starlink Power Tax
Starlink is a game-changer for connectivity but a “vampire” for electricity. Consuming 50-75W continuously, it can drain a standard 100Ah battery in less than 15 hours.
The Math: 400W of solar typically harvests 1.6kWh – 2kWh per day.
The Buffer: An 800Ah battery bank provides the 3-day redundancy required for professional video conferencing during consecutive overcast days.
Maximize Solar Efficiency with TOPCon and BC Technology
By integrating TOPCon or BC (Back Contact) technology into your rv solar panels kits, you gain superior low-light performance. This allows your “office” to start charging at 7:00 AM, whereas standard PERC panels might wait until 9:00 AM to wake up the controller.
How to Avoid "Wiring Sag" and Charging Failures in Your Sprinter
The 5V MPPT Threshold
Most high-end MPPT controllers require the solar voltage ($V_{pv}$) to be Battery Voltage + 5V to initiate a charge cycle.
The Trap: If you use 4x100W panels in parallel, your voltage stays around 18-20V. On a hot day, voltage drops. If your battery is at 13.5V, the margin becomes too thin to trigger the controller.
The Pro Fix: Use a single high-voltage 400W panel ($V_{oc}$ ~50V) or wire smaller panels in Series-Parallel. This ensures high “pressure” to kickstart charging even in the dim light of dawn.
Thermal Throttling in Van Compartments
Entry-level kits often fail because the charge controller is tucked into an unvented “electrical closet” behind the driver’s seat.
Counter-intuitive Data: A controller rated for 40A may drop to 20A once the ambient closet temperature hits 50°C (122°F).
Strategy: Insist on kits with passive heatsink controllers (like Morningstar) or add dedicated 12V noctua-style fans to your electrical cabinet.
What’s Missing in Standard Kits?
Professional installers avoid “all-in-one” bundles that skimp on safety. A true rv solar panels kits for a Sprinter should be evaluated on its Bill of Materials (BOM):
1. Heavy-Duty Circuit Protection
PV Disconnect: A dedicated breaker between the panels and controller. This is your “emergency stop” for maintenance.
ANL Battery Fuse: Positioned within 7 inches of the battery terminal to protect your 800Ah investment from catastrophic shorts.
2. The Smart Shunt (The “Fuel Gauge”)
Without a shunt, you are flying blind. A professional 400W kit must include a Bluetooth Smart Shunt to monitor net current flow, especially when Starlink and a 2000W inverter are competing for the same electrons.
How to Choose Your Mission-Critical Kit
Avoid: Kits with PWM controllers, 10AWG main battery wires, or no-name lithium cells.
Prioritize: 40A MPPT, 4AWG/2AWG battery cables, and panels with ETFE lamination or tempered glass depending on your weight budget.