Table of Contents
- How do off-grid RV systems work?
- Install Type: Mounting solar panels on the RV roof
- How to mount RV roof flexible solar panels - step by step
- Verification of roof integrity & finding trusses
- Removal of obstacles
- Placement of panels on the roof - practical tips
- Connect multiple solar panels.
- How to connect flexible solar panels: parallel vs. series
- The best flexible solar panels for RV
- Quick comparison table - Mount types at a glance
- Practical anecdote
- Put solar on your roof, the right way.
- Frequently Asked Questions (FAQ)
If you want more time off-grid and less time worrying about campground hookups, mounting solar panels on RV roof is one of the smartest moves you can make. You don’t need to be an electrician to get it done, but you will want a clear plan and the right parts. Whether you rely on standard rigid brackets or lightweight Sungold RV solar panels, the goal is the same: a smooth, efficient system that keeps your batteries charged wherever you travel.
This guide walks you through the whole thing, what the system parts do, how to pick mounts and panels, how to avoid common mistakes, and how to wire panels the right way so your batteries stay happy. What this really means is: fewer surprises, fewer trips to shore power, and more confidence when you hit the road.
We’re going to keep this straightforward and practical. You’ll get step-by-step instructions for flexible and rigid panels, simple ways to check your roof, options to mount without drilling, and wiring tips so your solar array works well in sunlight and when it’s partly shaded. We’ll also name real product features to help you pick the best solar panels for RVs. Read on, follow the steps, and you’ll have a reliable solar setup that fits your rig.
How do off-grid RV systems work?
In an RV solar setup, panels make DC electricity from sunlight. That DC goes to a charge controller, which manages how batteries are charged (12V, 24V, or 48V setups are common). Batteries store power so you can run lights, fridge, pumps, and devices when the sun isn’t out. If you want to run household AC appliances, an inverter converts battery DC to AC. This simple chain, PV → controller → battery → inverter, is what lets you be independent from shore power. For technical planning, industry guides recommend matching PV size, battery capacity, and controller type to your daily energy needs.
Main parts you’ll see:
- Solar panels (PV) – rigid solar panels or flexible.
- Charge controller PWM or MPPT (MPPT has more efficiency, particularly for different roof angles).
- LiFePO4 (LFP) batteries are in use nowadays due to their long-lasting life.
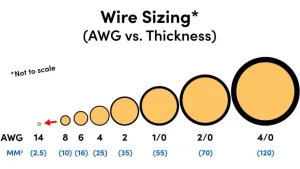
- The balance of the system (BoS) includes wiring, fuses, breakers, conduit, and MC4 connectors.
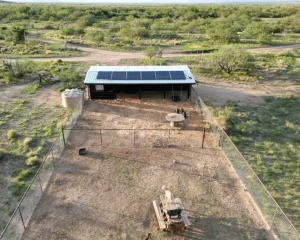
Install Type: Mounting solar panels on the RV roof
You’ve got three main choices:
- Fixed mounting (rigid panels + brackets): This method requires drilling and sealing, but is ideal for long-lasting RV solar energy setups.
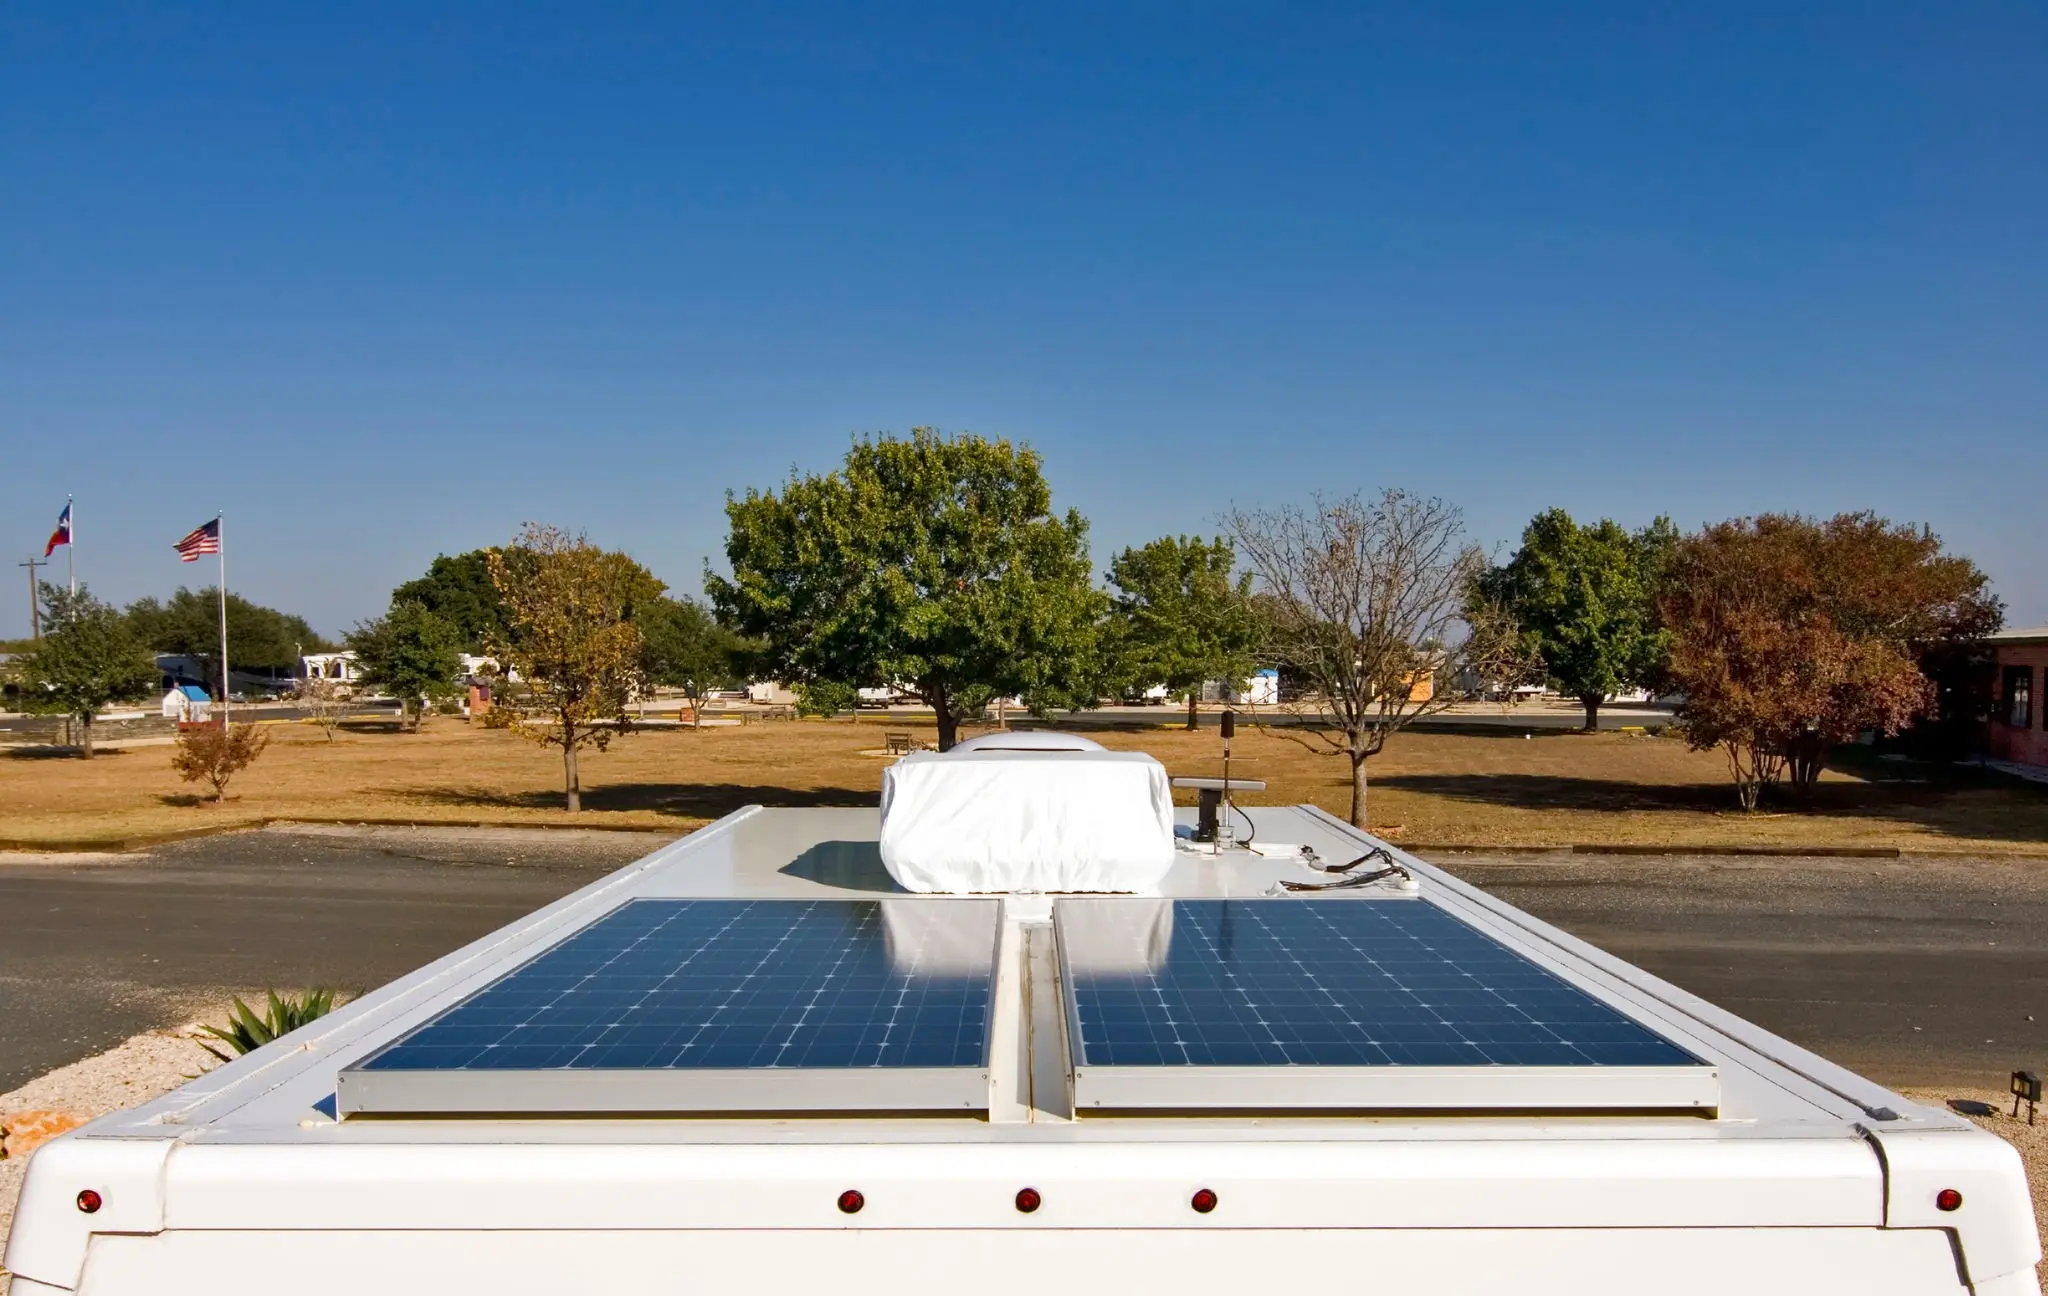
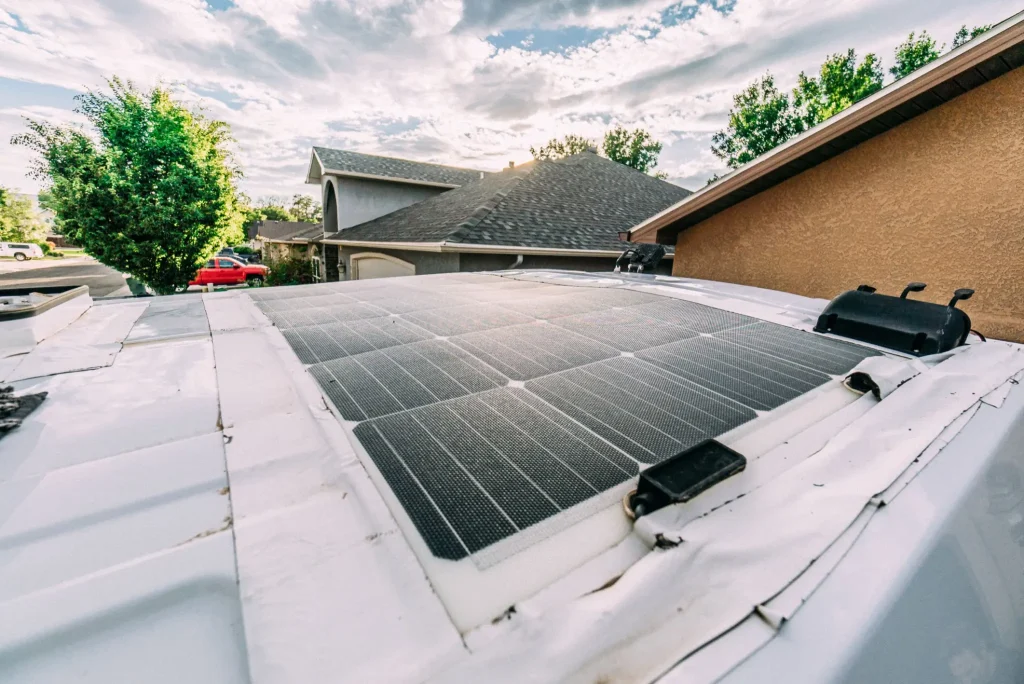
- Flexible installation (flex panels glued or taped): Low profile, conforms to curved roofs, often installed with adhesive or a few screws. Ideal for low-profile rigs and lightweight panels. Sungold’s flexible 100W models are examples of panels designed for these uses.
- Tilt mounting: Panels on adjustable tilting frames give the best sun exposure when parked, but are bulkier and need more work to set up and secure.
How to mount RV roof flexible solar panels - step by step
1. Measure the RV roof
Measure the length and width of the roof and note any roof-mounted equipment: vents, satellite dishes, AC units, racks. Plan out the panel footprints on paper or within a CAD application (SketchUp is a good choice) to check the fitting of the sun’s exposure. Create small gaps (~20 millimeters) between panels to allow thermal expansion and prevent scratching.
2. Mark panel positions
Use colored tape to mark corners and cable entry spots. Plan cable routing to the charge controller so wires take the shortest, protected route.
3. Check the roof condition and repair it first
Inspect for soft spots, cracks, or old sealant. Fix leaks and damaged membrane (EPDM or fiberglass) before you mount panels; you won’t want to lift panels later to fix the roof.
4. Find roof trusses or solid attachment points
If you’ll use Z-brackets or screws, align them to trusses or metal rails under the roof. Methods to locate Trusses: test the trusses by tapping to determine hollow vs. solid, measure the typical space (often 16″), or get access through the interior vents if feasible. Be cautious, drilling in the wrong area could damage the plumbing or wiring.
5. Prepare the roof surface
Cleanse with mild soap and allow it to dry. To install adhesive, apply an appropriate primer according to the directions of the adhesive (some companies recommend using the use of a primer or a specific cleaning solution).
6. Mounting flexible panels (adhesive method)
- Apply the recommended adhesive as well as 3M VHB tape according to the instructions of the manufacturer of the panel.
- Place the panel in the desired position, smoothing it to remove any air pockets.
- Secure cable entry using the use of a cable gland as well as sealant to keep out water.
- Use silicone or an appropriate RV roof sealant around any penetrations.
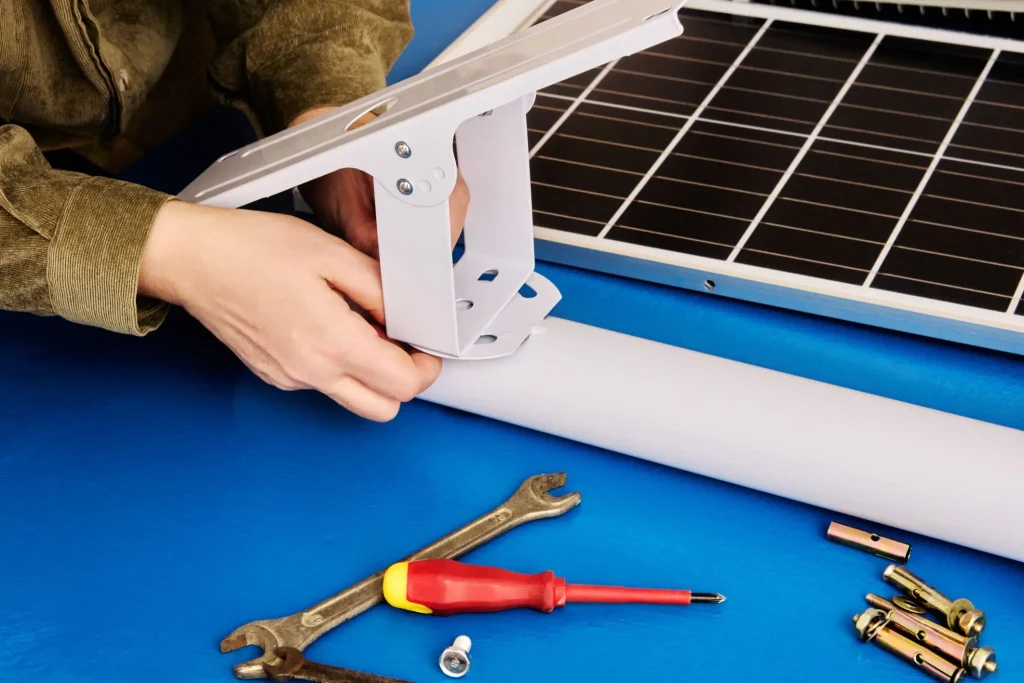
7. Mounting rigid panels (bracket method)
- Position Z-brackets or low-profile mounts.
- Drill pilot holes at bracket locations, seal the underside of the bracket with roofing sealant, and fasten.
- Use lock washers and proper stainless hardware to avoid corrosion.
Verification of roof integrity & finding trusses
Are you sure the roof can take a load and stay watertight? Walk the roof carefully (soft shoes), and look for places where the roofing material is thin or patched. Use the tapping method to find solid areas for fasteners; if unsure, open ceiling vents to inspect framing inside. Always seal every penetration well.
Removal of obstacles
Remove or relocate TV antennas, satellite domes, or solar vents if they cast long shadows. The cleaner your roof layout, the more of the day your panels will produce power. If you can’t move a big AC unit, place panels where they’ll see the most direct sun.
Placement of panels on the roof - practical tips
- Don’t slide the panels across the roof (brackets/sharp corners can tear EPDM). Lift them into place.
- Keep panels away from roof edges where wind lift is highest.
- Be mindful of shade from vents and hardware; even small shade spots can cut a panel’s output significantly. Technology like bypass diodes helps, but the best cure is smart placement.
Connect multiple solar panels.
You have three wiring choices; each has tradeoffs:
Parallel wiring
- Adds current (amps) while voltage stays the same.
- If one panel is shaded, others keep working.
- Requires thicker cable for higher current; practical limits apply (many installers avoid very large arrays in pure parallel because of heavy cabling).
Series wiring
- Adds voltage while current stays the same.
- Needs thinner wire, but a shaded panel limits the whole string’s output.
- Might require a higher-voltage charge controller.
Series-Parallel
- A mix of both, extensively used in larger RV configurations. It balances current, voltage, in addition to shading. For example, two strings of two panels give redundancy if one string is shaded.
Practical rule: Match your wiring plan to your MPPT charge controller voltage limits and to the battery bank voltage to avoid expensive mismatches.
How to connect flexible solar panels: parallel vs. series
Lorem ipsum dolor sit amet, consectetur adipiscing elit. Ut elit tellus, luctus nec ullamcorper mattis, pulvinar dapibus leo.
- Use MC4 or similar rated connectors and keep polarity correct.
- Fuse the positive line close to the battery. Typical fuse sizing depends on the array current.
- Keep run lengths short where possible; voltage drop costs power. Use thicker wire for long runs or higher currents.
- For safety and reliability, use proper cable glands and seal entries where cables pass through the roof. Renogy and other RV solar guides show recommended wire sizes and fusing.
The best flexible solar panels for RV
Flexible panels fit curved roofs and are light. They often come with pre-cut eyelets or adhesive backing. When choosing, look for:
- High cell efficiency – more power from a given footprint. Sungold’s 100W flexible panels advertise high conversion rates and lightweight designs.
- Durable top layer (ETFE or laminated) for weather resistance. Sungold uses ETFE on some panels, which improves durability and water resistance.
- Low weight – helps roof load and fuel economy; the Sungold lightweight 100W is an example listed at around 3.7 kg.
If you choose a branded product from Sungold RV solar panels, confirm the model specs, warranty, and connector compatibility with your charge controller before ordering. Use the panel’s datasheet to check voltage at max power (Vmp) and current (Imp) for wiring.
Quick comparison table - Mount types at a glance
Mount type | Pros | Cons | Best for |
Fixed brackets (rigid panels) | Secure, durable, good airflow | Requires drilling & sealing | Long-term installs, high output |
Adhesive (flex panels) | Low profile, light, no drilling (often) | May need re-seal; lower cooling | Curved roofs, lightweight rigs |
Tilt mounts | Best sun capture when parked | Bulk, extra setup | Seasonal camping or longer stays |
Straps / temporary | No drilling, removable | Less secure in high winds | Short trips, rentals |
Practical anecdote
When I first installed panels on a small camper, I tried to cram two 100W panels near the vent. Mid-afternoon, the vent’s shadow killed half the output. I moved one panel a foot forward and saw distinct gains. The lesson: small placement shifts matter more than fiddling with wiring later.
Put solar on your roof, the right way.
Mounting solar panels on your RV roof isn’t magic; it’s planning plus careful work. If you measure the roof, pick the right panel type (flexible or rigid), seal every penetration, and wire panels to match your controller and battery, you’ll have a setup that gives reliable off-grid power. Flexible panels are an excellent option when roof shape or weight is a concern; rigid panels are better where durability and airflow matter more. Use quality parts, check datasheets, and if in doubt, consult a pro for the roof penetrations and wiring.
Ready to go solar? If you want panels built for RV life, consider the specs (Vmp/Imp, weight, top layer, warranty) and look for models made for mobile use. Sungold RV solar panels are one brand option to check for flexible and lightweight 100W modules. Verify the datasheet and wiring compatibility before you buy.
CTA: Now that you know the steps, pick the panel size that matches your daily energy use, choose a mounting style, and start ordering parts. If you want, I can help you: tell me your RV roof dimensions and your average daily watt-hours, and I’ll draft a parts list and wiring layout tailored to your rig.
Frequently Asked Questions (FAQ)
1. How do you attach a solar panel to an RV roof?
Choose a mounting method that fits your panel type. Rigid panels typically use Z-brackets screwed to roof trusses (with sealant). Flexible panels can use adhesives or low-profile brackets and usually need only one cable entry point. Always seal any penetrations.
2. How to attach solar panels to an RV roof without drilling?
Use high-bond adhesives (3M VHB tape), heavy-duty straps, or suction cup mounts for temporary setups. Be sure that the adhesive you choose is suitable for outdoor use as well as roof materials, and adhere to the instructions of the manufacturer for surface preparation.
3. What is the best glue/adhesive for attaching solar panels to an RV roof?
3M VHB tape is commonly recommended for non-drill installs because of its high bond strength. Some installers also use specific RV roofing adhesives or polyurethane roof sealants. Always follow both panel maker and roof material recommendations.
4. How do you wire multiple solar panels for an RV?
Decide between series, parallel, or series-parallel based on battery voltage and charge controller limits. A series increases voltage, parallel increases current. Series-parallel often gives the best balance for larger arrays. Use fuses, proper wire gauge, and an MPPT controller when possible.
5. Which panels are best for an RV roof?
Flexible 100W panels are a common choice for small roofs because they’re light and fit curved surfaces. If you want higher long-term output and easier replacement, rigid low-profile panels on brackets work well. Look at panel efficiency, weight, top-layer durability (ETFE or tempered glass), and manufacturer specs. Sungold offers multiple 100W panel options suited to RV use.