

EN | Solution | plug in solar systems

NORTH AMERICAN PLUG-IN SOLAR

Plug-In Solar for
Everyday U.S. Homes

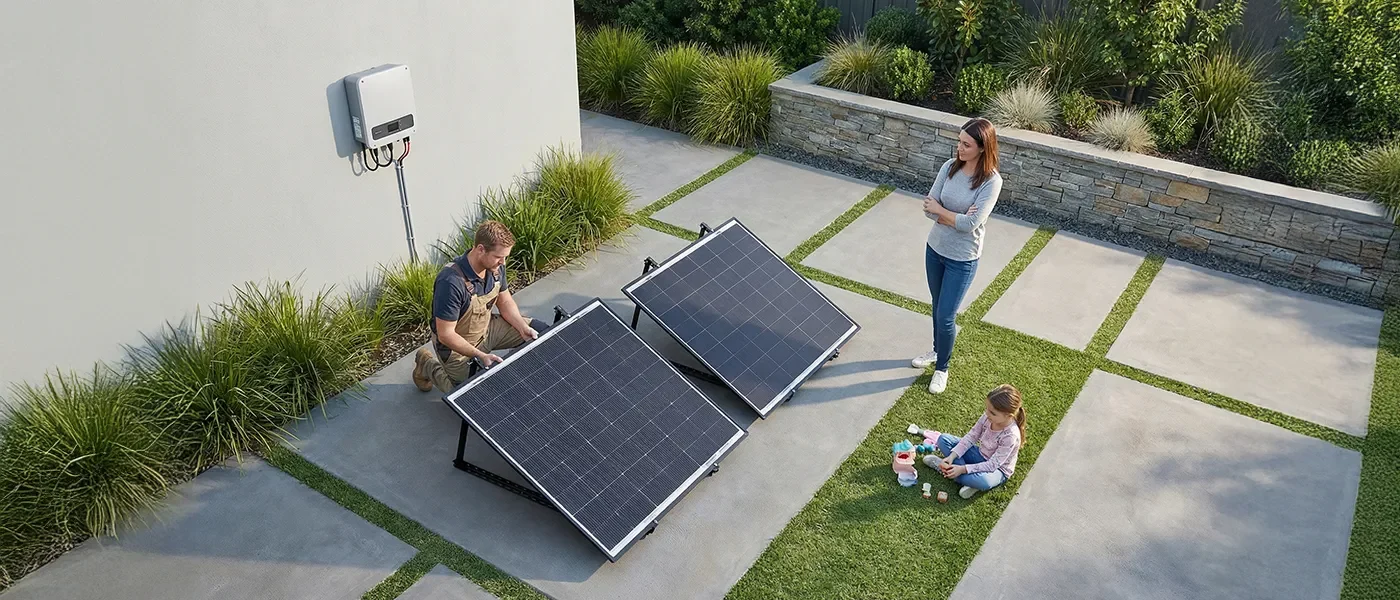
A compact, outlet-connected solar solution for renters, apartments and homes—designed to support daytime self-consumption with flexible system options up to 1,200W AC.

Flexible Installation

COMPACT · SPACE-EFFICIENT SETUP

Flexible / Lightweight

MULTIPLE PANEL FORMATS

Up to 1,200W AC

BALCONY SOLAR SYSTEM OUTPUT

Smart Energy Use

MONITOR · USE · OPTIMIZE

Simplified Plug-In Setup

Designed for compatible 120V plug-in configurations that can help offset daytime household loads.

Up to 1,200W AC for 120V Homes

Designed to help offset common daytime loads such as lighting, Wi-Fi, refrigeration and office electronics.

Smart Self-Consumption

Pair with a compatible CT or smart meter to monitor household demand and help improve solar self-consumption.

Renter-Friendly Options

Compact, non-roof-dependent configurations can be easier to relocate when your living situation changes.

CSA Certified · Tested to UL 61730

Certification and test scope should be matched to the exact module and system configuration.

Choose your plug-and-play solar system

1200W-Class Flexible Balcony Kit

1200W-Class Flexible Plug-In Solar Kit

PA219 Flexible 200W × 6
Designed for compact spaces and installations where low weight and flexible panel placement are priorities.
Total PV: 1200W (DC nameplate)
Best For: Compact residential spaces, lightweight mounting surfaces and low-profile installations
Lightweight Rigid Modular Kit

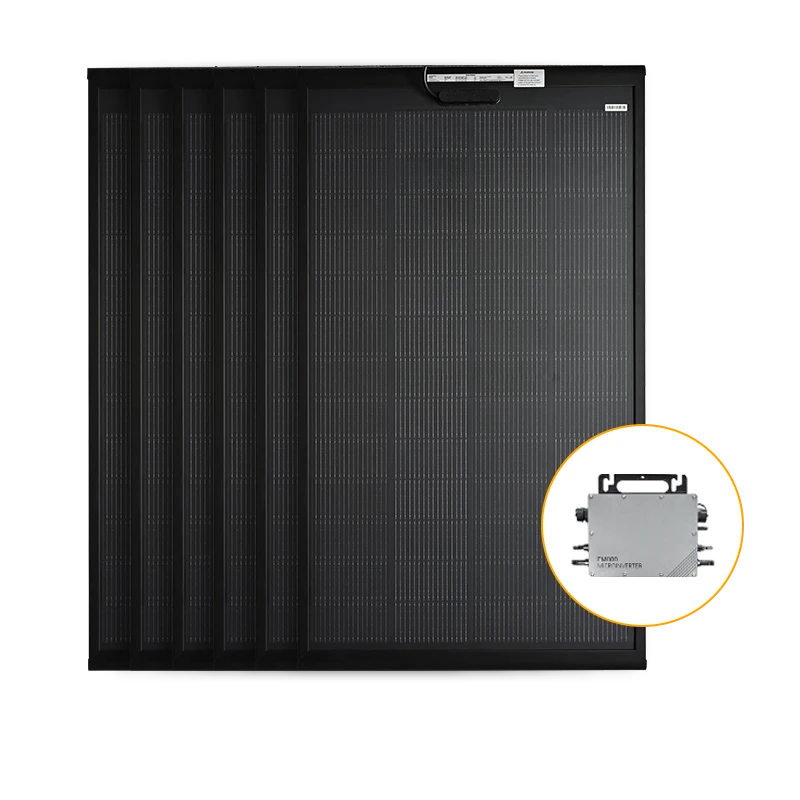
Lightweight Rigid Modular Kit

PA621 Lightweight 180W × 6 (1080W-Class)
A lightweight rigid format for modular residential installations and structured mounting layouts.
Total PV: 1080W
Best For: Freestanding mounts, structured surfaces and modular residential layouts
How to Design an Off-Grid Solar System:Complete Sizing Guide

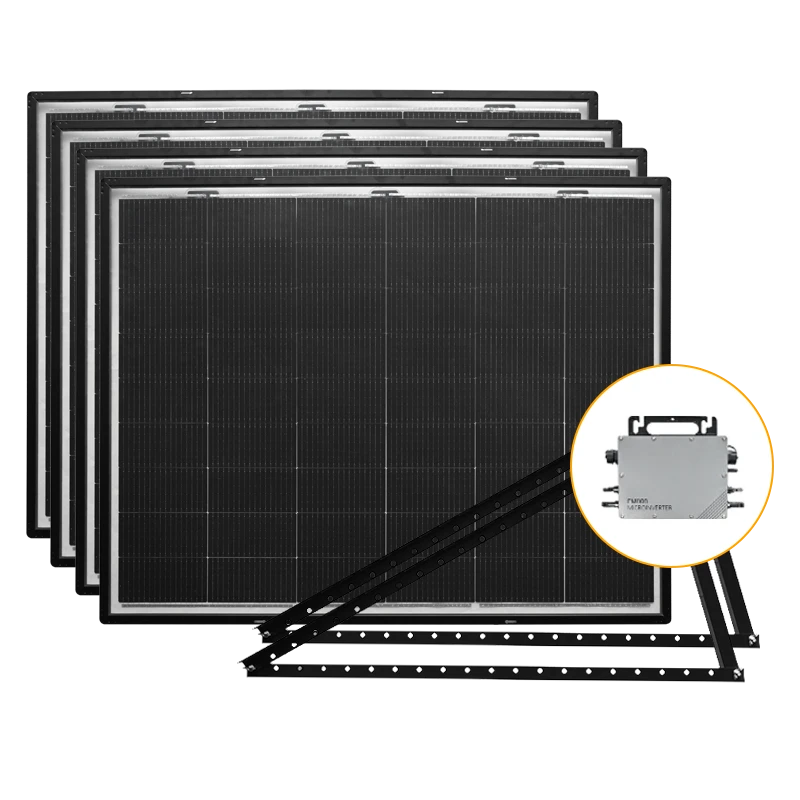
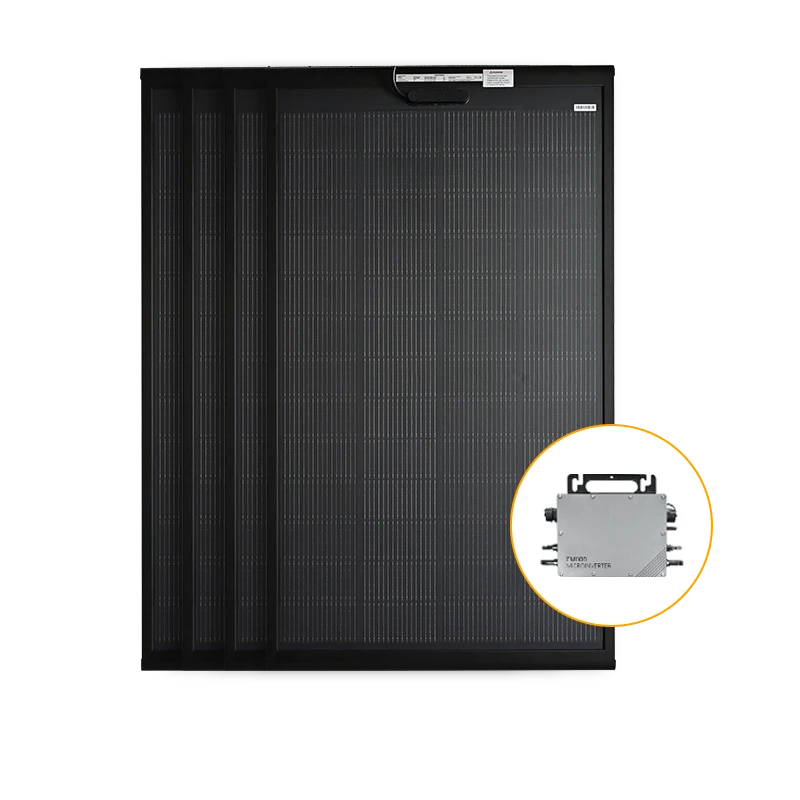
PA621 180W × 4 (720W-Class)

PA621 180W × 4 (720W-Class)
1 × 800W compatible microinverter A compact starting configuration for lower daytime loads and limited installation space. Total PV: 720W Best For: Apartments, renters and smaller household base loads

Certification and microinverter compatibility

For North American plug-in solar, review the exact module, microinverter, wiring, mounting and installation configuration—not only the panel wattage.

Module & Microinverter Pairing

Confirm the selected PV module, microinverter input range, connectors and electrical compatibility.

Tested to UL 3700 Requirements

Match the applicable test scope to the exact product and system configuration.

Installation Requirements

Review the intended circuit, outlet, mounting method and local installation requirements.

Important: certification and test references should always match the exact model and documented scope. Final installation requirements depend on the selected configuration and local rules.

How plug-in balcony solar works

How It Works

How Plug-In Solar Works

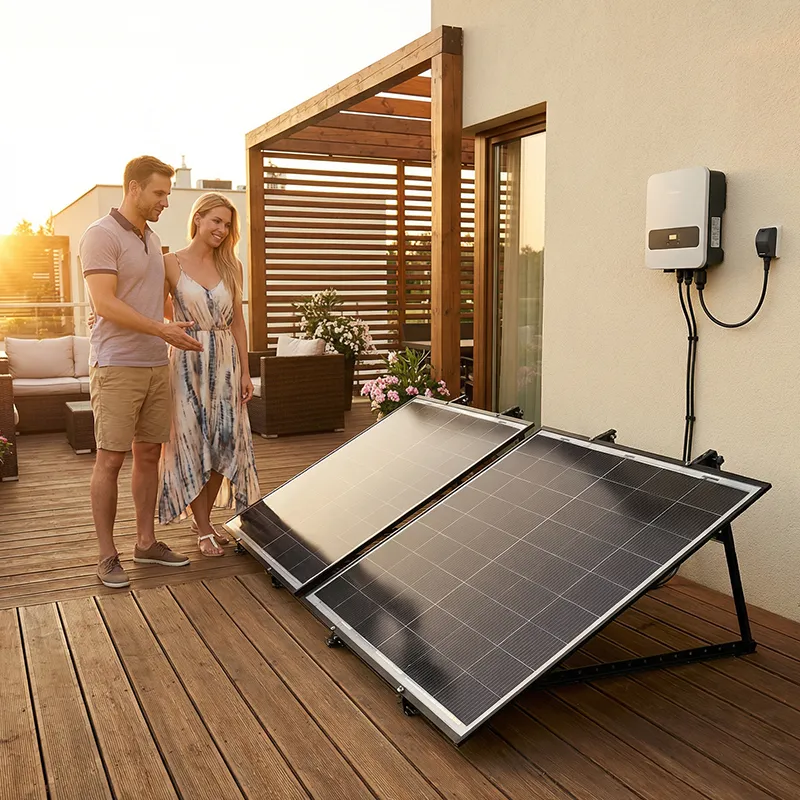
Solar panels generate electricity during the day, while a compatible microinverter converts DC power into AC electricity for household use.

Solar panels capture sunlight

Installed PV panels generate DC power during daylight hours.

Power is converted

A compatible microinverter converts the solar power into household AC electricity.

AC power supports household loads

Converted power can help supply the intended household circuit during the day.

Solar helps reduce grid use

Household loads can use available solar power first, helping reduce electricity purchased from the grid.

Plan the Installation Before Choosing the Panel Layout

A good plug-in solar setup starts with the installation area. Available space, mounting compatibility, shade exposure and cable routing all affect panel selection and final layout.

Available Installation Area

Measure the usable space first to determine panel size, placement and possible quantity.

Mounting Compatibility

Make sure the mounting method matches the installation surface, structure and selected panel format.

Shade Exposure

Check how nearby buildings, walls, trees or other obstructions may reduce usable sunlight during the day.

Cable Routing

Plan a cable path that is neat, protected and practical from the PV array to the intended connection point.

Safety & Compliance

Check Local Requirements Before Installing Plug-In Solar

Plug-in solar requirements can vary by location, utility, building rules and installation type. Confirm the intended setup before purchase or installation.

Important: certification and test references should always match the exact model and documented scope. Final installation requirements depend on the selected configuration and local rules.

Check local and building requirements

Review local requirements and any landlord, HOA or building restrictions that may apply to the intended installation.

Confirm the installation setup

Make sure the mounting method and installation location are suitable for the selected panel type and system configuration.

Match compatible hardware

Choose the correct panel, microinverter, connectors and cable configuration for the planned system.

Review product documents

Check the applicable manuals, labels, test documents and installation guidance for the selected system.

What Affects Plug-In Solar Performance?

Actual performance depends on sunlight, installation conditions, system sizing and how much solar power is used during the day.

Sun Exposure

Daily solar generation depends on orientation, available sunlight and seasonal conditions.

Shading Conditions

Nearby walls, trees, buildings or balcony structures can reduce usable solar output.

System Size & Matching

Panel wattage and microinverter capacity should be matched to the intended household demand.

Daytime Self-Consumption

The more solar power used while it is being generated, the more grid electricity can be offset.

How Plug-In Solar Helps Reduce Grid Electricity Use

Safe setup starts with the right connection

Plug-in solar requirements can vary by location, utility, building and installation type.

What to consider before choosing a system

A few installation and usage details can help you choose a system that better fits the available space, sunlight conditions and daily household demand.

01

Plug-In Solar Setup Checklist

Check the key installation details before choosing panel size and system output.

Usable installation area and dimensions
Installation surface and mounting method
Sun exposure and shading from nearby structures
Preferred panel size, type and quantity
Target AC output and compatible microinverter
Cable route from the PV array to the connection point
Local building and electrical requirements
Optional monitoring and self-consumption needs
02

Estimate your potential savings

Actual results depend on electricity rates, system orientation, shading and daytime solar use.

Simple payback estimate
Estimated Payback = Total Installed Cost ÷ Annual Electricity Savings
Main factors that affect the result
01Local electricity rate
02System orientation
03Daily sun exposure
04Shading conditions
05Daytime self-consumption
06Selected system size
Use this as a planning guide rather than a fixed savings promise. Actual generation and payback vary by location and usage.

Frequently Asked Questions

No. Standard grid-tied plug-in balcony solar systems shut down automatically during a grid outage for safety because of anti-islanding protection.

Requirements vary by location, utility, building and installation type. Check local electrical rules, utility requirements and any landlord, HOA or building restrictions before installation.

The panel count depends mainly on usable railing width, panel dimensions, mounting spacing and the target system output. Measuring the actual balcony before choosing the final layout is recommended.

Yes. Orientation, daily sun exposure and seasonal sun angle all influence generation. Shading from upper balconies, nearby walls or buildings can also reduce output.

Flexible panels are a good choice when low weight and a low-profile appearance are priorities. Lightweight modular panels are useful when you prefer a more structured multi-panel layout along the railing.

Check the panel voltage and current, the microinverter MPPT range, input-current limit, AC output, connector type and the requirements that apply to the intended installation location.

Leave a Message

If you are interested in our products and want to know more details, please leave a message here and we will get back to you as soon as possible.


    Scroll to Top