

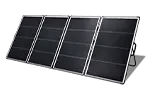


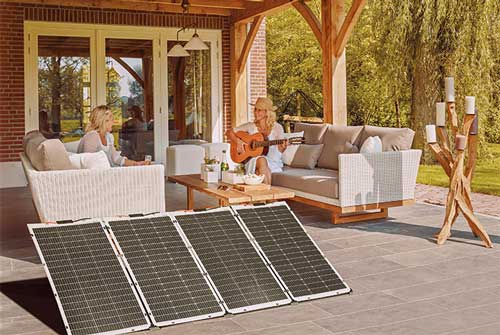


RV solar panels are a great tool for RV owners, and they are becoming increasingly popular at the moment. Wherever you go, you have the option of getting your energy from the sun so you can reduce your reliance on noisy, smelly generators and RV connections in RV parking lots. To use solar panels, you first need to connect them to your vehicle’s home battery. This process may seem complicated, but we’ll simplify it for you.
RV solar panels are a great alternative to a generator and RV connection
RVs usually have two batteries. A car or starter battery is used to start the engine. The second is a so-called household battery that powers the appliances in the RV.
In theory, a household battery is not necessary for an RV, but will certainly come in handy, for example, to keep a refrigerator running, usually with a 12V deep cycle battery, either lead acid or the more modern lithium-ion batteries. Household batteries can be charged in several ways:
Generators that run on gasoline, diesel, or propane.
An alternator is built into the engine of an electric car and charges the battery while you drive.
Solar panels. They are a great addition to the alternator because they provide you with energy when you are parked.
Solar panels are a reliable alternative to RV connectors and generators because they produce no sound or smell, require little maintenance, and pay for themselves over time. To use RV solar panels to charge your RV battery, you must first connect them. The whole process is fairly simple. While you can seek professional help to perform the installation, it is fairly simple to complete this task yourself. We’ll break the process down into four steps.
Four Steps
1. Installing Solar Panels
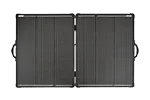
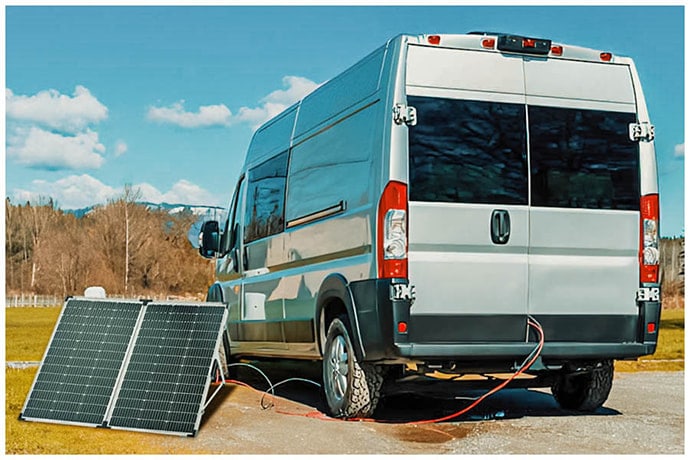
There are two ways to install solar panels on your RV. You can use a portable kit and mount it on the ground every time you park, or just put the panels on the roof and generate energy 24/7. To mount the panels to the roof, you can use the following tools:
*Z-mounting brackets for solar panels come with nuts and bolts but can be secured to the roof with strong adhesives.
*Aluminum tiltable mounting brackets allow you to adjust the angle of the panels, but require drilling. Panels on these brackets or frames can also be placed safely on the ground.
*Gentle or amorphous (thin-film) solar panels can be glued directly to the roof or secured with Velcro. However, they tend to overheat, which reduces their already below-average efficiency. It is best to have some space between the panels and the roof. This way the air helps to cool the panels. When solar modules overheat, they degrade more quickly and produce less energy as the voltage drops.
Consider the position and angle of the solar panels before installation. In the United States, solar panels should face south – that way they produce the most energy. Of course, RVs are meant to be mobile, but keep this in mind when parking your trailer in a new location. The angle of the solar panels on your RV roof can be equal to your latitude. Generally speaking, in the United States, a 30-45 degree tilt is fine.
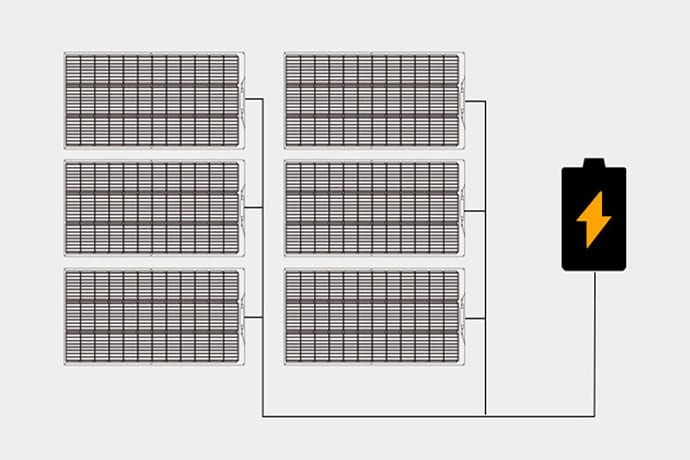
If you have a lot of solar panels, you can choose between the following two wiring solutions.
1. Parallel wiring
2. Series wiring
When connected in parallel, the negative terminal of the solar panel is hooked up to the negative lead of the battery. After that, we connect the negative terminal of one panel in series to the positive terminal of the other panel as shown in the wiring diagram. If you want to learn more about series and parallel connections, we suggest you read our article on RV solar panels.
2. Connecting the charge controller to the battery
As long as there is a battery in the solar panel system, it must be equipped with a charge controller. Generally, install the charge controller in the RV as close to the battery as possible. Its role is to protect the battery from high panel voltages as well as from overcharging and deep discharging. If you simply connect the battery to the panel, it will overheat and possibly explode.
There are two types of charge controllers:
PWM regulators are inexpensive but only work when the panel voltage is slightly higher than the battery voltage. They simply reduce the voltage to the level of the battery.
MPPT controllers are more complex and expensive. They convert the extra voltage into electrical energy, so you lose almost no energy generated.
The size of the controller is measured in amps. To calculate the power level of the regulator needed, divide the combined power of the array by the battery voltage. For example, if you have two 200 W solar panels and a 12 V battery, then your charge controller should be sized to be larger than 200 W * 2 ÷ 12 V = 33 A. You will need to connect the controller to the battery first.
Then make sure it works properly. Follow the instructions for your charge controller model. For this task, you will need a stranded copper core wire. Do not mix up the positive and negative currents: connect the negative terminal of the battery and the charge controller with the black wire and the positive terminal with the red wire. Screw the wires tightly into the charge controller and check the battery connections.
3. Connect the controller to the RV solar panel
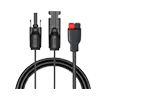
The MC4 connector is a special connector used to connect the RV solar panel to the controller. These long cylindrical fittings have male and female sides. Coming out of the solar panel’s junction box is a positive cable with a “male” MC4 connector and a negative cable with a “female” connector. Add another pair of connectors with wires on the other end to connect to the charge controller.
They must contain simple instructions on how to connect them to the wires, usually the cable to the RV solar panel is not long enough to reach the controller, and since the controller should be close to the battery, you will need to manually measure the length of cable needed to make the connection.
After connecting the input cable, the male and female connections must match and snap into place. When the “click” sound is made, the connection is securely installed. Once the solar panels are connected, the charge controller should be able to recognize them and measure their voltage.
Remember, you cannot turn the solar panels on and off manually. As long as they are exposed to sunlight, they will generate electricity.
Of course, if it is a portable solar kit, omit to install the solar panels and just connect the connector to the battery.
4. Check again that all connections are working properly
After completing the wiring, you must verify that the system is functioning properly. Most charge controllers include a digital panel that displays the amount of electricity flowing to the battery. To confirm that everything is connected correctly, check the readings on the display. keep the RV battery connected after it is fully charged.
The size of the battery, the wattage of the solar panel, the amount of electricity used, and the amount of sunlight will all affect the amount of time it takes to fully charge the battery. Your RV solar panels system is now ready to power the DC-powered equipment in your RV.
Article from: Sungold
For more information, you can click on: https://www.sungoldsolar.com/


