EN
EN
 Deutsch
 Italiano
 Español
 Français
 日本語
日本語
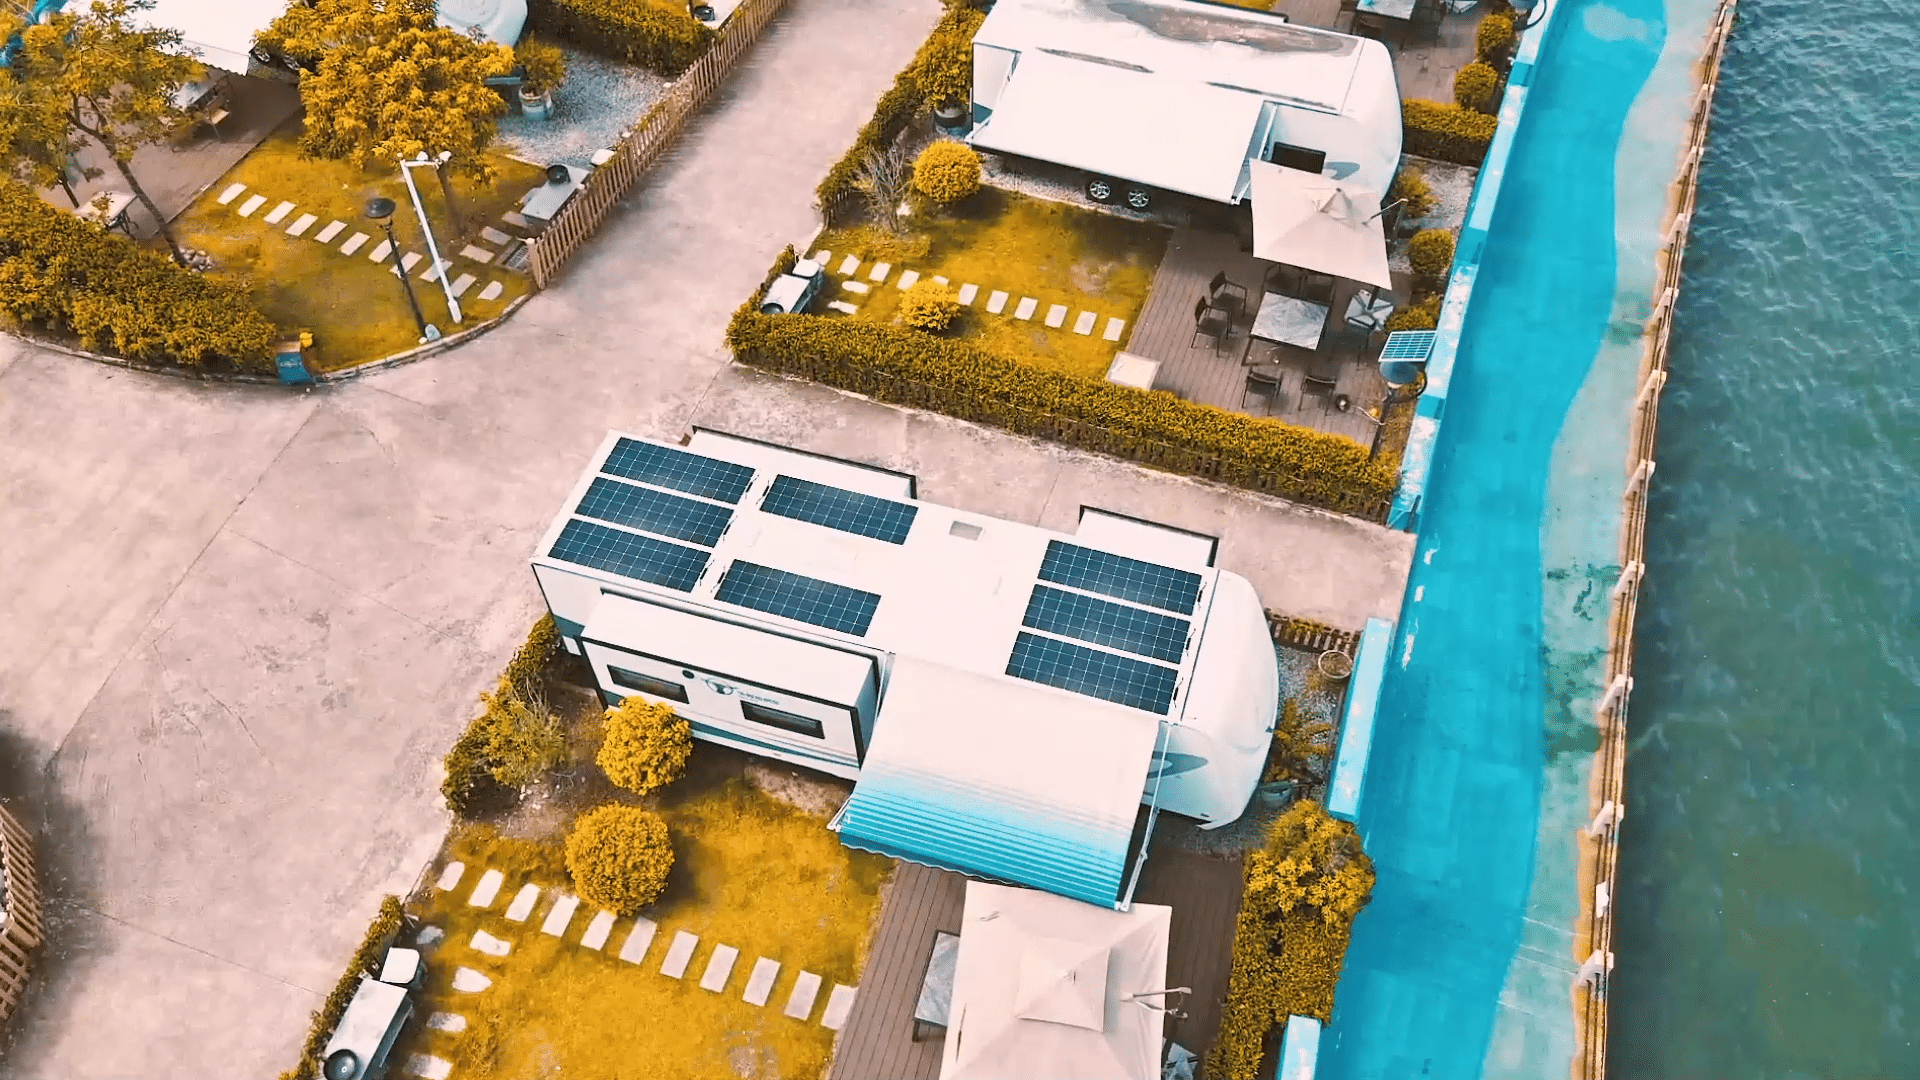
Table of Contents
Mounting solar panels on RV roof that means RV solar panel systems are one of the best ways to achieve energy independence and stay off the grid for as long as possible. This means more time on the road and less time connected to the mains at the campsite.
Our beginner-friendly guide explains how to install solar panels on your RV so you’re ready for your next outdoor trip.
We’ll cover everything you need to know about how off-grid systems work, a step-by-step guide to We’ll cover everything you need to know about how off-grid systems work, a step-by-step guide Mounting solar panels on RV roof and mistakes to avoid.
How off-grid RV systems work?
Unlike grid-connected systems, off-grid renewable energy sources do not rely on electricity provided by the local utility. Instead, these systems use other sources such as solar power, wind turbines, hydroelectricity, or fossil fuels to create standalone systems. Here we will focus on off-grid solar systems.
Off-grid solar systems include solar panels, 12v or 48v lithium iron phosphate battery energy, and other systems.
Let’s take a closer look at each component:
Solar panels: photovoltaic panels capture solar energy.
LiFePO4 batteries: Batteries in a portable power station store energy for later use.
Balance of System: Consists of all the other components except for the PV modules, including power controllers, inverters, wiring, fuses, circuit breakers, etc. Some systems may have some of this equipment built in, such as an inverter.
A solar power system works when the PV panels capture sunlight and produce DC electricity. The inverter converts the DC power to AC (household) power, which powers most appliances or electronics. The converted energy charges a portable power station that the user can plug into to run electronic devices.
Install Type:Mounting solar panels on RV roof
While it is not necessary to install solar panels on the roof of your RV, a roof-mounted solar system will allow you to collect energy while you are on the road.
There are several options for installing solar panels on your RV:
FIXED MOUNTING: Fixed mounting systems are designed for rigid solar panels and require holes to be drilled in the roof of your caravan. You will then need to install mounting brackets to secure the panels in a flat position on top of the fixed mounting system.
FLEXIBLE INSTALLATION: Flexible solar panels adapt to the shape of the caravan, making them easy to install on any caravan roof. You will use tape to set the panels in the correct position. However, you may need to drill a hole in the roof to bring the cables into the caravan, but only one hole is needed for this installation.
Tilt Mounting: you can mount your solar panels using a tilt position instead of fixing them in a flat position. The tilt platform allows you to adjust the angle of the panel for optimal sunlight capture. This mounting system improves light absorption, resulting in greater power output.
How to mount RV Roof Flexible Solar Panels
Measure the RV roof
Measure the roof of the RV, including all objects mounted on the roof of the caravan. It is recommended that the CAD application Sketchup can be used to draw everything. The advantage of a CAD tool is that you can draw the solar panels to the correct size and then place them on the roof. This is a huge benefit in terms of being able to roughly predict how many solar modules will be used. When looking at the location of the panels on the drawn roof, consider how existing objects will cast shadows on the panels. Placing panels near an air conditioning unit may result in the panels being shadowed for several hours a day
Place the panel on the caravan roof and mark the panel position with colored tape. Avoid areas where satellite dishes or air conditioning may cast shadows.
A pre-installation layout allows you to visualize how they will look on the roof and where you need to install the struts. If connecting multiple solar panels, you will also need to leave enough space (approx. 20 mm) between them.
When planning your roof layout, check the roof for any damage or leaks. If there is damage, it is best to repair the roof before continuing with the panel installation.
Verification of roof integrity
Is your roof in good condition? Have you truly inspected every inch of your target area? You need to look for tears, holes, cuts, and soft spots in your EPDM (rubber) roofing material. Any defects need to be addressed now. You will not be able to reach anything underneath the panels once they are installed.
Find your roof trusses
If your trailer has roof trusses, as mine does, you need to find them. This is where you want to attach the Z-braces to. Finding trusses is a bit like finding Easter eggs. Here is the technique I use. A. Tapping Method – Tap the roof with the flat head of a large screwdriver and listen for hollow and solid sounds. This is a pretty good method. B. Tape Measure – My trusses are usually on 16″ centres. This is not always the case, such as when the 16″ mark is located right in the middle of the vent. This causes the installer to move the trusses forward a few inches. D. Opening the Ceiling – With the roof vents in the correct position, I opened the vent mounts from the inside of the trailer. This gave me easy access to the “attic”. From there I can see the trusses in front of and behind the vent. Through the attic access, I can also insert the tape measure and measure the next truss. Using the above method, you may be able to accurately map out the trusses.
Removal of obstacles
We recommend removing any obstructions from your caravan, such as TV aerials or satellite dishes. Placing them on the roof will prevent your panels from getting optimum sunlight exposure without obstruction.
The ideal layout is to have only panels and vents on the roof to maximize sunlight.
Prepare the roof
If you need to clean and seal your roof, do it now. I added some Eternal State patches where there were cuts. I removed and replaced the Dicor lap sealant on the back edge of the trailer. Once the panels are in place, these things are hard to do.
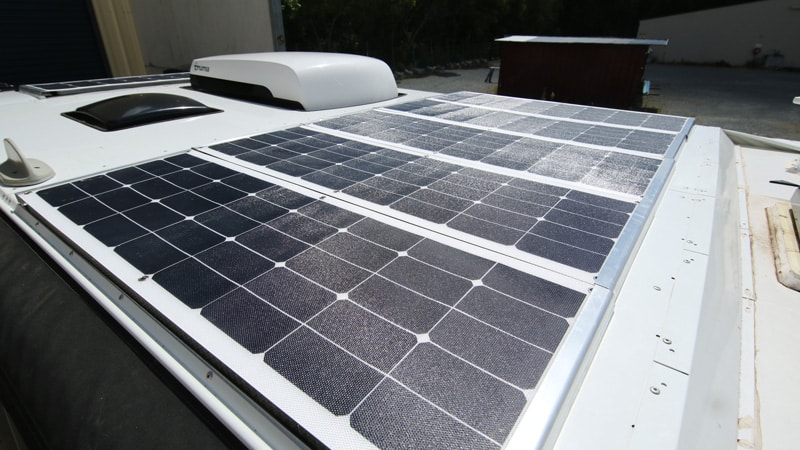
Placement of panels on the roof
Once the panels are installed on the roof, be very careful of the brackets. They may be sharp enough to cut through the EPDM. avoid sliding the panel across the roof. The installation process varies depending on the type of panel you have. You must install rigid panels with screws by drilling holes in the roof. They can be installed flat or angled on the roof.
However, you don’t have to drill holes in the roof of your RV to install solar panels. Flexible designs can be installed using adhesives that stick directly to the roof surface.
If you choose rigid solar panels with fixed mounts, you will need to drill holes. Next, fasten the mounts to the panel’s location. Apply a sealant to the underside of the bracket to maintain an airtight seal and prevent potential roof leaks.
Attach the solar panel to the fixed mounting hardware.
Positioning panels
Using the markings you made on the roof – I marked mine with a permanent marker as it would be covered – place the bracket into its final position. Double-check your positioning. If necessary, clean the area around the bracket
Connect multiple solar panels
If you plan to connect multiple solar panels, you have two connection options: series or parallel:
Series connection: connect the positive terminal on the first panel to the negative terminal on the second panel. This type of connection increases the voltage.
Parallel: Connect the positive cable from one panel to the positive cable from the other panel. Perform the same operation for the negative cable. If you want to increase the current value, it is better to use parallel connection.
How to connect flexible solar panels: parallel vs. series
Now that you have installed your solar panels, it’s time to start wiring them up. There are three main ways to connect your solar panels to your RV solar system:
Parallel – each panel is connected to the charge controller separately
Series- All panels are connected and then connected to the charge controller
Series-Parallel – a mix of series and parallel where the solar panels are ‘grouped’ together and each group is connected to the charge controller
Each solar panel array has pros and cons that you should weigh when making your decision. Let’s look at each array in more detail so you can determine which setup is best for your needs.
Parallel solar panel wiring:
When the positive and negative wires of each solar panel are combined together, this is called parallel wiring.
Parallel solar panels allow each panel to operate independently. If one of the panels is in the shade, the rest of the solar array will still be able to operate at maximum capacity.
Connecting solar panels in parallel doubles the current strength while keeping the voltage constant. Solar panels connected in parallel will require higher gauge wiring because wire gauge is limited by amperage.
I recommend that you do not connect more than 500 watts of solar panels in parallel as you will need to purchase very thick and expensive wire to increase efficiency
Series solar panel wiring:
When the positive wire of one solar panel is connected to the negative wire of another solar panel, this is called a series connection. Essentially, you are creating a large panel containing multiple smaller panels.
In a series array of solar panels, your output will be limited by the lowest performing panel. If one of the panels is in shadow, all the other panels will be removed with it. This is the main disadvantage of series-connected solar panels.
Connecting solar panels in series doubles the voltage through the wires while keeping the amperage constant.
The low amperage generated by series-connected solar panels allows you to purchase low-gauge wire (thinner and cheaper).
Charge controllers, on the other hand, are limited by voltage, which means series-connected solar panels will require more expensive charge controllers.
Solar panel wiring in series and parallel:
Due to the limitations of series and parallel solar panel arrays, the most common array for larger systems is series-parallel, and I highly recommend this setup for most RV solar systems.
Wiring panels in series and parallel means you have multiple series in parallel.
For example, if you have four solar panels, you could have two sets of two panels each. While one series may be eliminated because the panels are in shadow, the other series can still operate at maximum capacity.
For four-sided panel arrays connected in series and parallel, you can double the current strength and voltage instead of quadrupling it.
This allows you to limit the gauge of the wires and limit the size of the charge controller. We chose to connect the panels in series and parallel because we found it to be the best balance of cost and system efficiency!
The best flexible solar panels for RV
So how do we Choosing The Right Flexible Solar Panel For Car Roof? Flexible solar panels are more suitable for campers as they are much smaller. The flexible design allows the solar panels to be molded onto the roof of the campervan and requires less flat surface area.
The Sungold 100W Flexible Solar Panel is an excellent flexible solar panel for campers with limited installation space. It features a durable design for long-lasting performance. The highly protective toughened glass and laminated coating protect the monocrystalline cells from damage caused by inclement weather such as heavy rain.
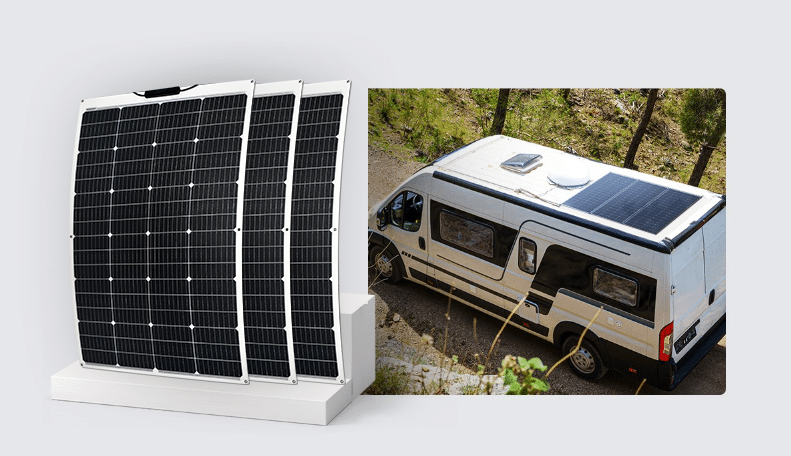
Unlike traditional panels that require bracing and drilling, flexible panels have pre-cut eyelets that can be hung from hooks or securely fastened to the caravan roof using adhesives.
These panels are bendable to fit the unique shape of your caravan. This means you can place more solar panels on your roof because they seamlessly blend into the natural curvature of your RV. And because they only weigh 5.1 lbs, they’re easier to adjust and move than traditional bulky solar panels.
The Sungold 100W Flexible Solar Panel comes with a protective case and solar cable for universal compatibility. It easily connects to any third-party solar system so you can charge a portable power station or 48v power system.
Frequently Asked Questions (FAQ)
1. How to attach a solar panel to an RV roof?
To attach a solar panel to an RV roof, first, make sure you assess the roof’s structure and available space. The typical steps are as follows:
- Choose the appropriate solar panel and mounting system.
- Determine the panel’s location, ensuring it avoids any obstructions and provides ample sunlight exposure.
- Clean the roof surface to ensure it is free of dust, grease, or other debris.
- Use brackets or a mounting system to securely fasten the panel to the roof.
- Connect the cables and link the solar panel to the battery or battery management system.
2. How to attach solar panels to an RV roof without drilling?
There are several ways to mount solar panels to an RV roof without drilling:
- Strong adhesives or glues: Use adhesives specifically designed for outdoor and high-load applications, such as 3M VHB (Very High Bond) tape, which can hold the weight of the solar panels securely.
- Suction cup mounts: Some suction cup mounts can allow for a no-drill installation, but they are generally suitable for smaller or temporary setups.
- Strapping systems: Use heavy-duty straps (such as “solar zip tie mounts”), which are a flexible mounting option that doesn’t require drilling.
3. What is the best glue for attaching solar panels to an RV roof?
It’s recommended to use strong, outdoor-durable adhesives, such as:
- 3M VHB (Very High Bond) tape: Suitable for metal, plastic, and glass surfaces, this tape offers a very strong bond and is ideal for mounting solar panels securely without drilling.
- Liquid Nails or similar construction adhesives: These are used for heavy-duty bonding and can also work well on RV roofs.
4. How do you anchor solar panels to a roof?
To anchor solar panels to a roof, you can use various methods:
- Mounting brackets: These provide a solid and permanent solution for securing the panels to the roof.
- Adhesives: As mentioned above, strong adhesives like 3M VHB can be used as an anchor, especially for no-drill installations.
- Straps and clamps: Adjustable straps or clamps can be used to secure the panels, especially in cases where drilling is not an option.